Guys, I have just completed the bulb change in less than two hours including driving to the car spares shop for the bulbs. Here are some notes for people who read this thread in the future along with some pictures, maximum brownie points from the wife :d
1) Thanks to Farmerpug for the video, I loaded it onto my iPhone and played it back in the car, knowing where the screws were saved a lot of time and frustration.
2) The sequence is good, the only comment I would add is that the A-pillar plastic covers have a P-clip arrangement at the top, don't keep pulling at it, simply use a screwdriver to push the P close and it will pop out

3) If you don't have a flexibly screwdriver for the top of the dash then don't panic, the screws are not in that tightly an adjustable will work fine.
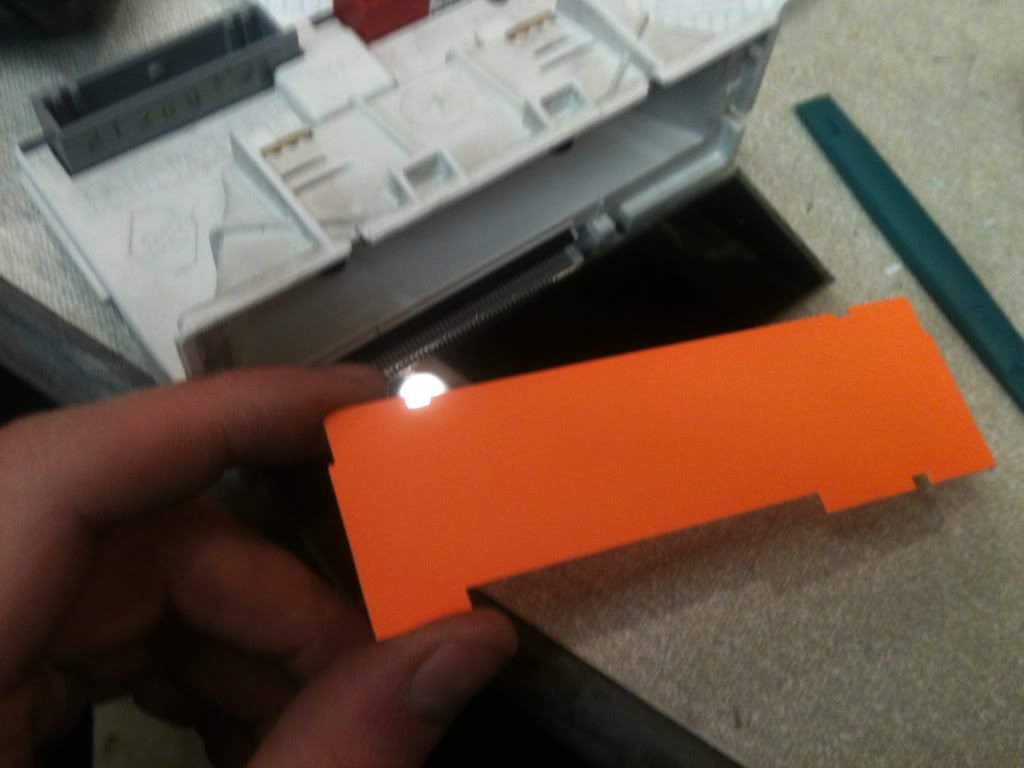
4) I got replacement generic bulbs from my local spares shop (motor factor) for £3 the pair.
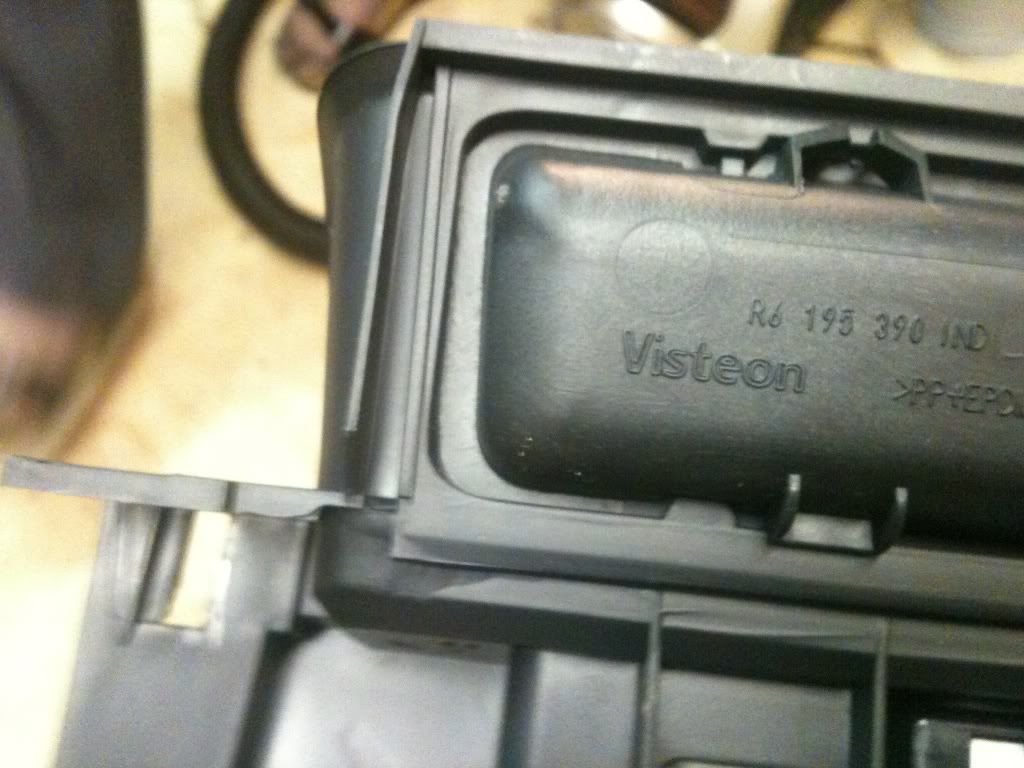
5) Note they are not exactly the same as the Visteon originals, Visteon offset the pins. The replacements do work but they are a little loose when fitted, so I measured the distance from metal connection to flange and there was a small difference (about 0.1mm) so I used small pliers to decrease the gap and they are a firm fit. Also the replacements rotate past vertical because they don't have the offset but still make good contact with the PCB inside the unit.
6) An alternative to using the replacement parts is to remove the bulbs from the original part, they are standard wire-ended bulbs. You can take them out the replacement parts and insert them in.
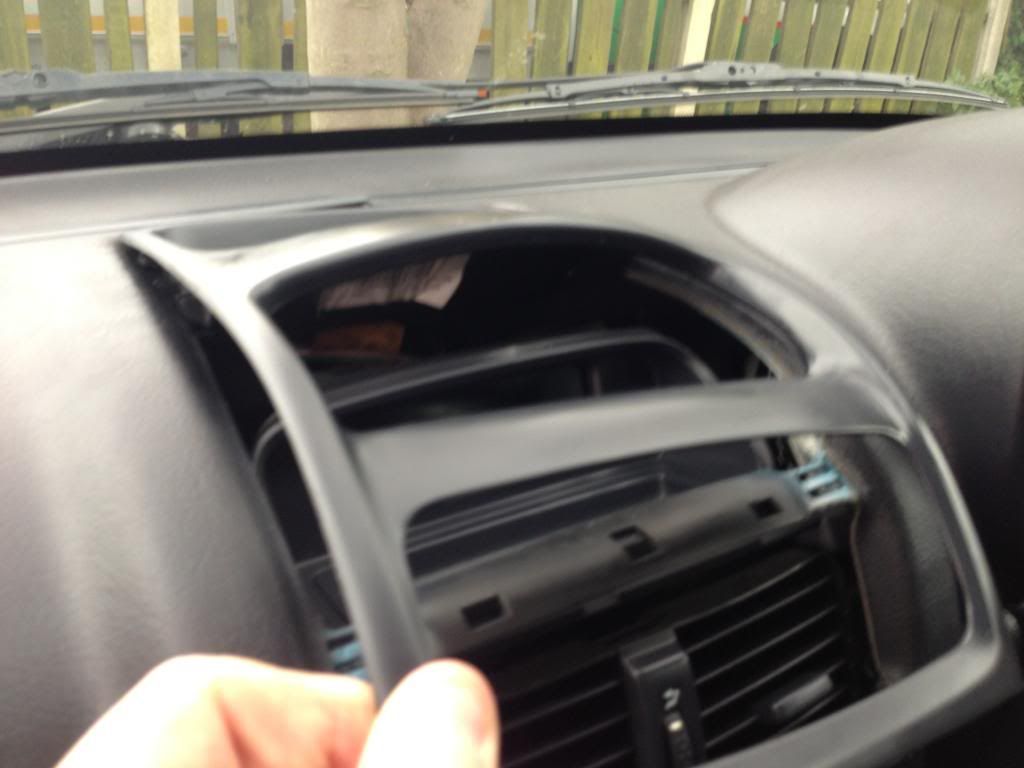
7) Don't work on the car in the cold, it was about 6 Celcuis when I started the job and the plastic dashboard broke as I was trying to get it past the steering wheel. It does not show once re-assembled though.
8) Assembly was MUCH MUCH easier than I had antissipated, the dash goes back into place really easy and all the screws re-align perfectly
Kindest Regards ... John